Thursday, June 2, 2016
Parachute
To make this instillation piece, we blew up a balloon and put two layers of plaster strips on it so that we could have a thick parachute. After the plaster was dry, I popped the balloon and painted it. I was originally going for a sunset look, but I still like the way it turned out. I liked how we all came up with ideas and decided as a class which would be the most fun. I wish we could have had more people involved so that there would be more balloons floating around school.
Scraffito Tray
Scraffito is when you scratch through the surface to expose another layer. We did this with a black underglaze that we painted onto a slab of clay fitted to a styrofoam plate. After the underglaze dried, we were able to scrape it off. I like the way mine turned out, I would probably do more planning next time. After making the design we wanted, we dipped it into clearglaze and it went into the kiln!


Empty Bowl Project
Two out of my three bowls were thrown on the wheel. I like using the wheel, although it can be difficult and frustrating. One of them turned out just fine while the other ended up having a very weak spot that turned into a hole. Instead of starting over, I made more small holes and added cracks to them to make it look intentional. That was my favorite out of the three because it looks old and damaged. The third bowl was made out of wire. I took a styrofoam bowl and molded the wire around it. I really liked how that one turned out, too.


Unconventional Materials
I used sand as my unconventional material. I mixed it with elmer's glue and poured it onto a plastic bowl that I covered in aluminum foil. When the glue dried, I took it off of the bowls shape and removed as much of the aluminum as I could. It turned out to be really cool and a very creative idea. I probably will do this again as an activity at a party or get together because its very fun and cool and you could even add food coloring and make a very unique creation. I would find another way to make sure the glue doesnt stick to the bowl because the aluminum foil was hard to peel off.
Wednesday, March 23, 2016
Pit Fire: Part 2


Pit Fire: Part 1
Pit firing is the oldest method for firing pottery. It uses objects to burn in order to make smoke that stains the piece. A foil saggar is a process in which the piece is wrapped in aluminum foil so that the objects that are placed inside the foil can burn and stain the piece in different ways and colors.


Relief Post: Part 2
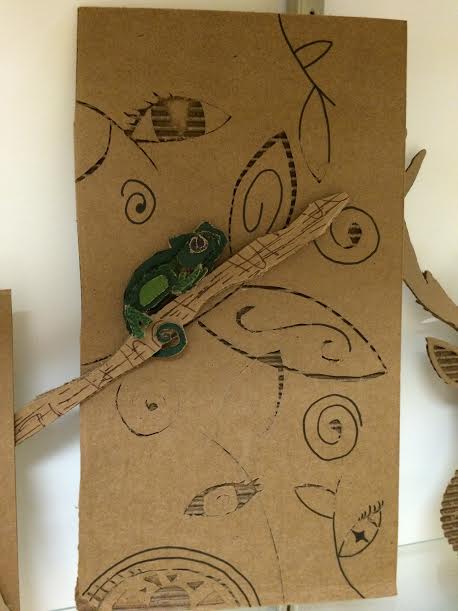


I think my piece was very successful. I sort of wish I would have done my original plan of an underwater type of thing where the fingers were coming out without the palm being visible. But I think my execution of what I ended up doing was great. The mini tile helped me understand how relief worked and was good practice of scraping away clay to reveal something. The cardboard was fun but I don't think my group's project necessarily helped with the main relief piece. I overcame shaping the fingers which was a problem I had. Getting the fingers to form out of the background was difficult, but it ended up working out.
Subscribe to:
Posts (Atom)